Quick Start
This is a quick start example, through which you can quickly understand the development process of GenUI.
Environment Description
| Name | Version |
|---|
| Mac | - |
| Ract | 0.1.8+ |
TIP
For more detailed Ract commands, please refer to: Ract
Install and configure Ract
Ract is the first step in your journey to GenUI, please choose the latest version to download
👍 crates.io: https://crates.io/crates/ract
Regardless of your system, installing with cargo is always the preferred way.
Releases: https://github.com/Privoce/ract/releases
WARNING
Your computer may prompt security issues, please select Allow
You can install or configure Ract as a global command in the following ways:
1cargo install ract
2
3ract --version
Instructions
- Input | Select End needs to use
Enter to complete the current operation
- When a tab appears, use
Space to add or switch options
- You need to use the
↑ ↓ keys to switch tabs
- You need to use the
← → keys to adjust the cursor position when inputting
- You need to enter
Yes/y or No/n to indicate yes or no when a query item appears
- When an error occurs or you need to undo reset or stop, please use
ctrl + c
Create a project with Ract
Run the ract create command, Ract will automatically help you detect the environment. When all tool chains are complete, Ract will help you build a project
Ract will prompt you that the relevant tool chain is missing. If your tool chain is incomplete, you can directly use the ract install command to install it
TIP
If you are a novice, you may need to install:
- rustc
- git
- makepad
- gen_components
- wasm_build
- default
All you have to do is select the installation item
An example of an interactive dialog box for install
1🥳 Welcome to use ract Install!
2
3🔸 Select the tools to install:
4  - rustc
5  - cargo
6  - git
7  - makepad tools (default or custom options)
8? What tools you want to (re)install?
9> [ ] rustc|cargo
10  [ ] git
11  [x] makepad
12? What you need to (re)install?
13  [x] gen_components
14  [ ] android_build
15  [ ] ios_build
16> [x] wasm_build
17  [ ] makepad_studio
18  [x] default
Example of interactive dialog box for create
1❤️ WELOCME TO GENUI, ract is a build tool for you!
2🔸 Current states:
3        🔻 Basic Tools
4                🔹 rustc: ✅
5                🔹 cargo: ✅
6                🔹 git: ✅
7        🔻 Makepad ToolChains:
8                🔹 makepad: ✅
9                🔹 gen-ui: ✅
10> Which framework template do you want to create? gen_ui
11> Input the name of the workspace: quickstart
12============ Project1 ======================
13> Which underlayer you want to select? Makepad
14> Project name: start
15> Authors name:
16> Project description: This project is created by ract. Repo: https://github.com/Privoce/GenUI
17> Choose LICENSE: MIT
18> Version: 0.1.0
19> Keywords: front_end, ui
20> Do you confirm the project information? Yes
21> Do you want to add another project? No
22> Init as a git repository? No
23> Confirm All? Yes
24🛠️ ract is creating a new GenUI workspace `quickstart` in: /Users/shengyifei/projects/gen_ui/made_with_GenUI
25🚀 Create a new workspace project successfully!
26🚀 Create a new cargo project successfully!
27🎉 Your project has been created successfully!
Run the project
In GenUI, you need to use ract run to run the project
TIP
You don't need to cd to the source project code directory, just cd to the GenUI project root directory
The GenUI project is a typical Rust Workspace project, and the project root directory is the Workspace directory
For example, you used ract create to build a workspace named quickstart at /Users/John/projects/gen_ui_project.
You only need to cd to /Users/John/projects/gen_ui_project/quickstart. Then run ract run directly
Result
After startup, you will get the following input in the terminal:
1🥳 Welcome to use ract project runner!
2
3🔸 Now you can run makepad and gen_ui (Comming Soon) project
4❗️ Please make sure your project root has a `.ract` file to point the project kind
5🔸 If you do not know `.ract` file, please run `ract book` to search (Comming Soon)
6
7
8
9     _/_/_/  _/_/_/_/  _/      _/  _/    _/  _/_/_/
10  _/        _/        _/_/    _/  _/    _/    _/
11 _/  _/_/  _/_/_/    _/  _/  _/  _/    _/    _/
12_/    _/  _/        _/    _/_/  _/    _/    _/
13 _/_/_/  _/_/_/_/  _/      _/    _/_/    _/_/_/
14
15
16GenUI-Compiler :: [2025-01-23 12:00:55] :: INFO >>> 🔧 Log Service is starting... Log entries will be available after the `app event::Change` occurs!
17    Creating binary (application) `src_gen_0` package
18note: see more `Cargo.toml` keys and their definitions at https://doc.rust-lang.org/cargo/reference/manifest.html
19GenUI-Compiler :: [2025-01-23 12:00:55] :: INFO >>> 🔧 Watcher Service started successfully! Ract is watching: `/Users/John/projects/gen_ui_project/quickstart/start`
At this time, Ract is helping you monitor and compile your GenUI project in real time
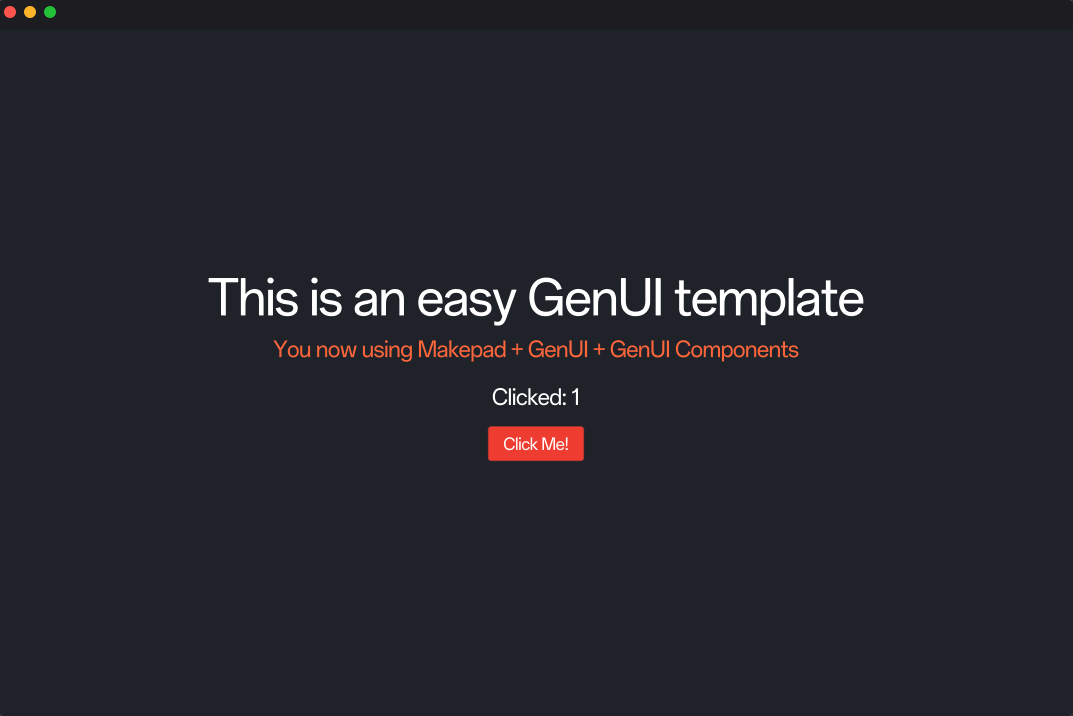
Run the UI
After starting, you will get a compiled package named src_gen_0 in the workspace. You need to add a terminal and cd to this directory and use cargo run to start the project
1cd src_gen_0
2
3cargo run
You will get a view:
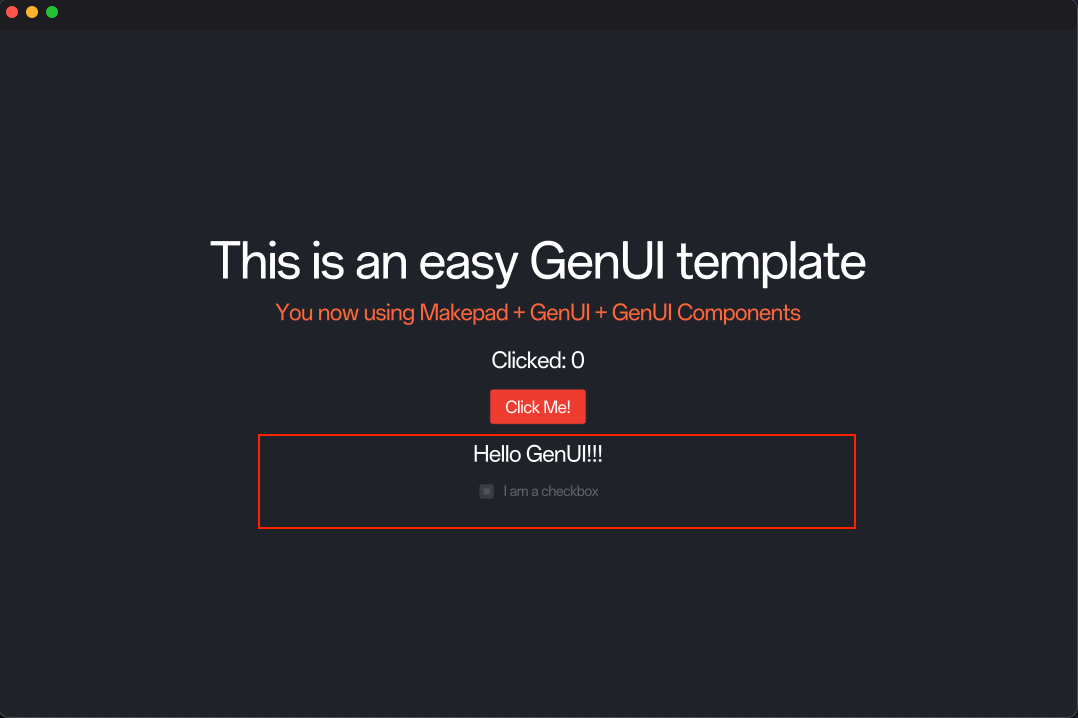
Add new components
Next, we add a text component and a multiple-select box component to the home page
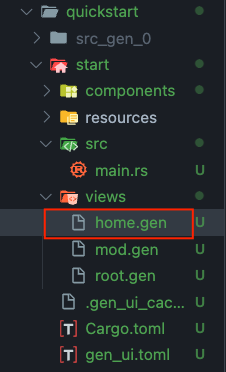
Open the home.gen file in the views directory in the start directory
Add the following code to <template>:
home.gen
1<label text="'Hello GenUI!!!'" font_size="16.0"></label>
2<checkbox text="'I am a checkbox'"></checkbox>
The complete <template> code is as follows:
home.gen
1<template>
2  <component name="Home" class="home_view">
3    <Hello id="header"></Hello>
4    <button id="my_btn" theme="Error" @clicked="click_btn()">
5      <label as_prop="slot" text="'Click Me!'" font_size="12.0"></label>
6    </button>
7    <label text="'Hello GenUI!!!'" font_size="16.0"></label>
8    <checkbox text="'I am a checkbox'"></checkbox>
9  </component>
10</template>
After Ract performs incremental compilation, you will get the following prompt:
1GenUI-Compiler :: [2025-01-23 12:10:00] :: INFO >>> File `/Users/John/projects/gen_ui_project/quickstart/start/views/home.gen` compiled successfully.
And the view will automatically update: